
How to Paint Autumn Trees in Oil Paint: A Step-by-Step Guide

Painting autumn trees in oil paints is a rewarding experience for any artist. The vibrant colors of fall—rich reds, warm oranges, golden yellows, and earthy browns—create a stunning palette that can bring life and emotion to any landscape painting. Whether you’re a beginner or an experienced artist, learning to capture the beauty of autumn trees requires an understanding of color mixing, brush techniques, and how light interacts with the natural environment.
In this guide, we’ll walk you through the process of painting autumn trees in oil, covering everything from selecting the right materials to mastering color blending and brush techniques. By the end of this tutorial, you’ll have the tools and confidence to create stunning, realistic autumn landscapes that capture the season's magic.
Gathering Your Materials
Before you begin painting, make sure you have all the necessary materials. Working with oil paints allows for rich, layered textures, but you’ll need the right tools to achieve the desired results.
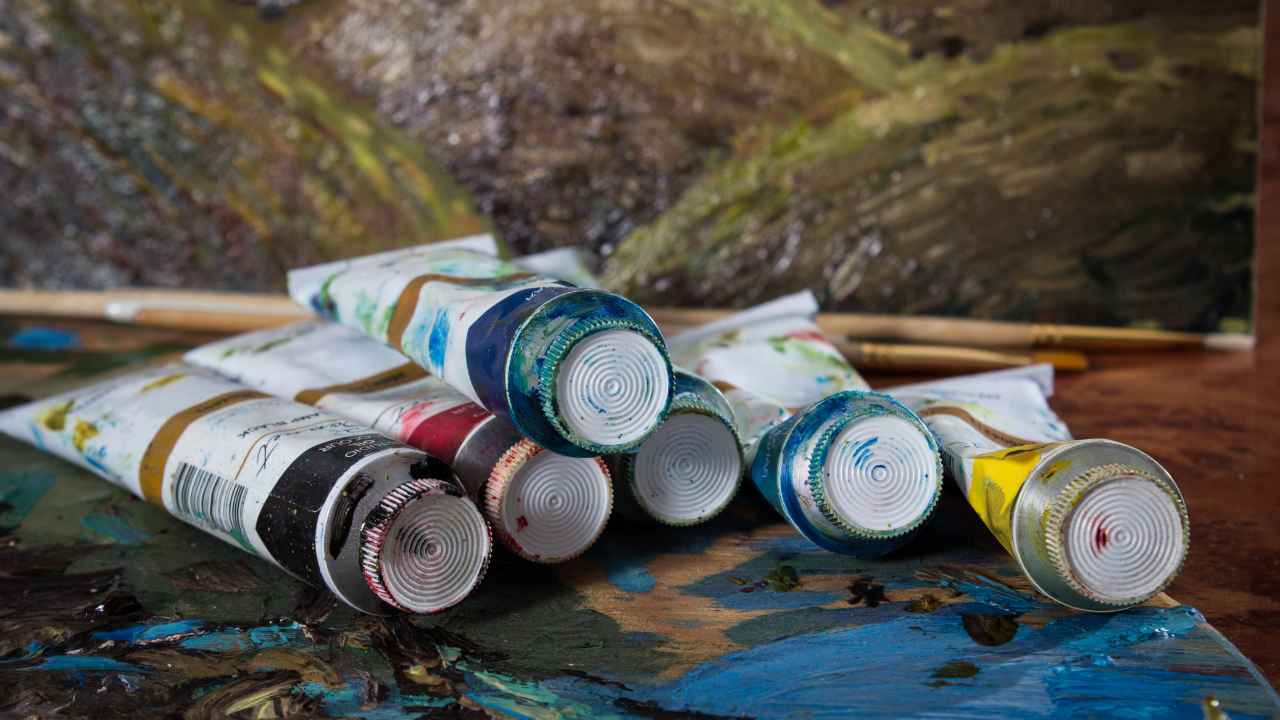
- Oil Paints: For painting autumn trees, you’ll need a range of warm colors, including Cadmium Red, Cadmium Orange, Yellow Ochre, Burnt Sienna, and Burnt Umber. You may also want cooler colors like Ultramarine Blue and Sap Green for shadows and background elements.
- Brushes: Use a variety of brush types and sizes, including flat brushes for large areas, round brushes for detail, and fan brushes for creating natural leaf textures.
- Canvas: Choose a canvas that is primed for oil painting. A standard cotton canvas or canvas board will work well.
- Mediums and Solvents: Linseed oil is commonly used to thin oil paints and increase their fluidity. You’ll also need turpentine or an odorless solvent to clean brushes and thin the paint when necessary.
- Palette and Palette Knife: A palette for mixing colors and a palette knife for mixing and applying thicker paint layers are essential.
Pro Tip: Prepare your workspace with good ventilation, as oil paints and solvents can produce strong fumes. Use a protective apron or old clothing to avoid stains.
Planning the Composition
The composition is the foundation of any painting, and it’s crucial to think about how you want to arrange the elements of your autumn landscape.
- Decide on Your Perspective: Consider whether you want a close-up view of the trees, where the texture of the leaves and bark are prominent, or a distant view that captures the vastness of an autumnal forest.
- Use the Rule of Thirds: When planning your composition, use the rule of thirds to guide the placement of key elements like trees, horizon lines, and focal points. This creates balance and keeps the viewer’s eye moving across the painting.
- Balance Colors and Shapes: In autumn scenes, the rich variety of colors can be overwhelming if not balanced properly. Keep the warm tones (reds, oranges, yellows) as focal points, and use cooler tones (greens, blues, purples) in shadows or background areas to create depth and contrast.
Pro Tip: Sketch out a rough outline of your composition on the canvas with a pencil or a thin wash of paint. This will help guide your painting and ensure that your elements are well-placed before applying thick layers of oil paint.
Blocking in the Background
Start by blocking in the background of your painting. This helps set the overall tone and atmosphere of the piece. For an autumn scene, the sky may be a soft, muted color, such as light blue, gray, or a golden hue to represent the warm, late-afternoon light.

- Sky: Mix a light blue for the sky using Titanium White and Ultramarine Blue. You can add a touch of Yellow Ochre or Burnt Sienna to warm the sky slightly, giving it the soft golden glow of autumn.
- Distant Trees and Ground: Use muted greens (mix Sap Green with Burnt Umber and Yellow Ochre) to paint the distant trees, keeping the details loose and blurred. The ground can be painted in earthy tones, using Burnt Sienna, Raw Umber, and Yellow Ochre to suggest fallen leaves and grass.
- Establish the Lighting: Decide where your light source is coming from—typically, in autumn landscapes, the light is warm and comes from a low angle, casting long shadows. Keep this in mind as you work, ensuring that the lightest parts of the trees and foliage face the light source.
Pro Tip: Use a larger flat brush for the background to keep it soft and less detailed. This will help the foreground elements, like the autumn trees, stand out later in the process.
Painting the Trees
The trees are the focal point of your autumn landscape, so pay careful attention to how you apply the paint and build texture.
- Trunks and Branches: Start by painting the tree trunks and branches using a mix of Burnt Umber and Ultramarine Blue for deep, dark browns. For lighter areas of the trunk where sunlight hits, mix Burnt Sienna and Yellow Ochre. Use a fine round brush for the smaller branches and details.
- Bark Texture: To create the rough texture of the bark, use a dry-brush technique, dragging a nearly dry brush with thick paint across the trunk to create a rough, textured look. You can also use a palette knife to scrape on thicker paint for even more texture.
- Foliage: For the autumn foliage, start by mixing your vibrant oranges, reds, and yellows. Use Cadmium Yellow, Cadmium Orange, and Cadmium Red as your base colors. Add Burnt Sienna to create warmer, deeper shades for areas in shadow. A fan brush works well for creating the impression of leaves without getting too detailed.
- Layering Colors: Build up the foliage in layers, starting with the darker colors for shadowed areas and gradually adding lighter, brighter colors as you move towards the highlights. Use a dry brush or stippling technique to give the leaves texture and movement.

Pro Tip: Don’t be afraid to let some of the branches show through the leaves—this adds a natural look to the trees and prevents the foliage from looking too dense or flat.
Adding Depth and Details
Once the base layers are in place, it’s time to add details that will give your painting depth and realism.
- Foreground and Middle Ground: Add more details to the trees in the middle ground by increasing the contrast between light and shadow. Use lighter tones of yellow and orange for leaves in direct sunlight, and darker, muted tones for areas in shadow.
- Shadows: To create depth, add long shadows on the ground and between the trees. Use cooler tones like Ultramarine Blue and Burnt Umber for shadows, blending them softly into the ground.
- Fallen Leaves: Scatter leaves on the ground by using a palette knife or a small brush. Use the same colors you used for the foliage but mix in darker tones like Raw Umber and Burnt Sienna for variety and shadow.
- Highlights: Add final highlights to the leaves and branches that are catching the most light. Use a small amount of Titanium White mixed with your yellows or oranges to create a glowing effect where sunlight hits.
Pro Tip: To make your painting more dynamic, add fallen leaves being blown by the wind or a distant tree line for additional depth.
Finishing Touches
After completing the main elements of your painting, take a step back and assess the overall composition. Now is the time to refine any areas that need extra attention or balance.
- Blending and Smoothing: Use a clean, dry brush to softly blend any areas that appear too harsh or need smoother transitions between colors.
- Add Final Details: With a fine brush, add any final touches to the branches, leaves, and trunk details. Be careful not to overwork the painting—sometimes less is more, especially when it comes to fine details.
- Varnishing: Once your oil painting has fully dried, which may take several days to weeks depending on the thickness of the paint, apply a varnish to protect your artwork and enhance the colors. Use a gloss varnish for a shiny finish or a matte varnish for a more subdued look.

Conclusion
Painting autumn trees in oil is a wonderful way to explore vibrant color palettes, experiment with texture, and practice blending techniques. With the warm, rich tones of fall and the variety of textures found in trees and leaves, autumn landscapes offer endless inspiration for artists.
By following the steps in this guide—choosing the right colors, layering paint for depth, and capturing the light and shadow of a fall scene—you’ll be able to create beautiful, lifelike representations of autumn trees. Remember that oil painting allows for flexibility, so take your time, build up layers gradually, and enjoy the process of bringing the stunning colors of autumn to life on your canvas.
Did you find this post Helpful or Inspiring? Save THIS PIN to your PAINT Board on Pinterest!

You might also enjoy these articles: