
Easy Ocean Painting: Paint Rolling Waves Step by Step
Easy Ocean Painting: How to Paint Rolling Waves (Step by Step)
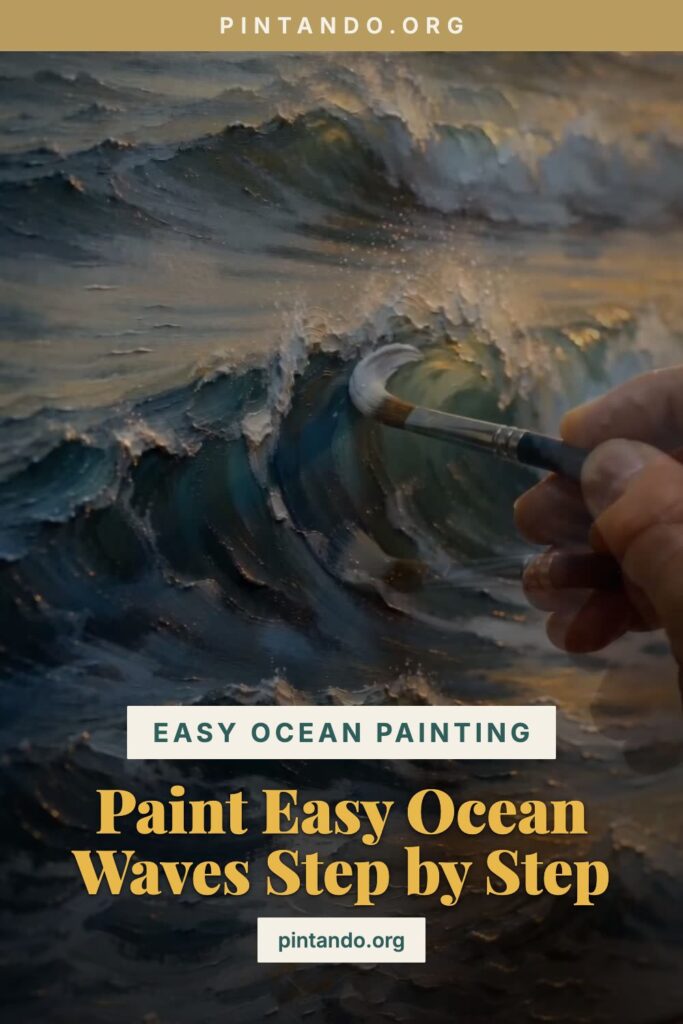
The ocean looks impossibly hard to paint until you learn the one trick that makes it easy: you don't paint water, you paint a few simple value bands and then let a palette knife do the foam. Get those two moves right and a convincing wave almost paints itself — which is exactly why "ocean painting easy" is one of the most-searched things on the whole site.
Here's the idea that unlocks it. A breaking wave is really just three things stacked: a calm darker band at the horizon, a lighter teal body where the light shines through the curl, and a ragged line of white foam on top. Beginners get into trouble by trying to paint every ripple. You don't need to. You need the three bands and one good foam line, and the eye fills in the rest.
Why the curl glows
The most beautiful part of a wave — that glowing turquoise inside the curl — happens because the water there is thin enough for light to pass through it, the same way a poppy petal glows. So the body of the wave is your lightest, most luminous teal, and the trough in front of it is your darkest. That value jump, dark trough against glowing crest, is what makes a wave read as a wave. Nail the values and the color almost doesn't matter.
The 19th-century seascape master Ivan Aivazovsky built an entire career on this. He painted the sea almost entirely from memory, using thin translucent glazes (a technique called lessirovka) so light seems to shine out from inside the water — his waves glow because the layers underneath show through. You're doing a fast, friendly version of the same thing: luminous color in the curl, thin enough to stay lit.
The easy method, step by step
You need three colors — a deep blue, a bright turquoise, and white — a flat brush, and a small palette knife.
- Band the water in. Horizon darker and calmer, the wave's body in bright turquoise, the trough in front of it the darkest. Three rough horizontal bands with the flat brush. Don't blend much.
- Shape one wave. With the side of the brush, curve the turquoise up into a crest and pull a darker blue under it for the hollow. One clear wave is worth ten timid ripples.
- Switch to the knife for foam. Load the palette knife with thick white and drag it along the crest — let it skip and break so the foam looks ragged, not painted. This is the move that sells it. Thick paint, light touch.
- Scatter the spray. Flick a few tiny white specks above the crest with a fine brush for sea spray, and drag thin broken white lines down the face of the wave for the foam running back.
- Calm the foreground. A few soft horizontal foam lines in the trough, getting smaller toward the horizon. Stop before you overwork it — the ocean is mostly simple water and one loud wave.
If your wave looks flat, your values are too close — darken the trough in front of the crest and the whole thing will pop into 3D. If the foam looks fake, you brushed it; scrape it off and drag it with the knife instead. Thick-and-broken always beats thin-and-careful for foam.
Master one rolling wave and you've got the whole sea — it's the same three bands and one foam line whether you're painting a calm swell or a crashing breaker. Once it clicks, try it as a cozy studio daydream of the ocean, or take the easel out and paint the sea from the sand at golden hour. What should I paint next — a stormy sea, or a calm sunset tide?
You might also enjoy these articles: