
How to Use a Waterbrush for Watercolor Painting

Hello, how are you today? Welcome to our blog About Painting and Art. We hope you are very well and looking forward to a new Free Art and painting Post or Tutorial.
Today we want to share with you a special post:
How do you use watercolor brush pens for beginners?
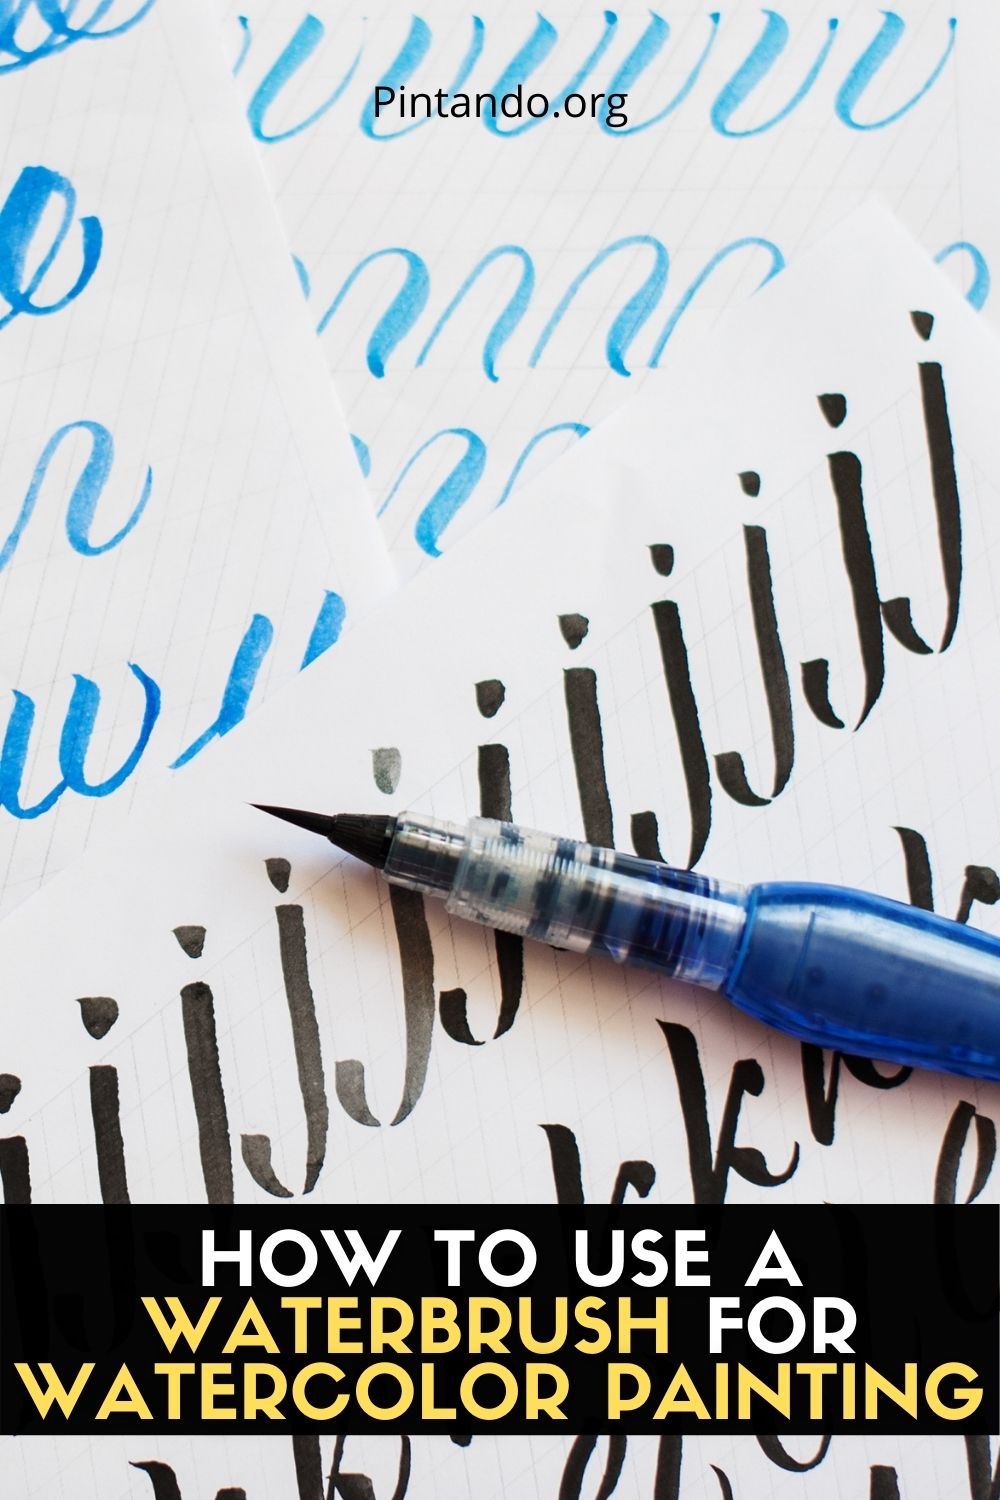
A water brush is unlike any other brush. It is made from a familiar bundle of bristles at one end, but the handle is not made of solid wood or plastic. Rather, it is a container or reservoir that can hold water. The two bits screw in and the snap-on cap prevents water from escaping when you're not using the brush.
As you use the water brush, the water will gradually seep from the reservoir to the bristles. This means that the bristles of the brush are permanently damp or wet.
The different brands of water brushes look more or less the same and they all work on the same principle. The size and shape of the water reservoir differ between brands, as does the size of the brush bristles.
 Water flow control
:max_bytes(150000):strip_icc():format(webp)/Waterbrush-Using-56a6e3ca3df78cf77290c096.jpg) Water flow control
Water flow controlThe bristles of a water brush are usually simply damp or wet, they do not drip (image 1). The water is gradually and continuously filtered from the water tank towards the sows, keeping them moist.
To get more water into the bristles of the water brushes, squeeze the water container (as you can see in Photo 2, this particular water brush even tells you exactly where to squeeze). Basically, move your hand up a little along the brush handle and then press down with your fingers. Although this feels strange at first, you will quickly get used to this action as you paint with the brush.
The amount of extra water that is squeezed onto the bristles depends on how hard and how long you squeeze the water container. As you can see in photos 3 and 4, the bristles contain a large drop of water before it drips.
The humidity of the bristles in a water brush depends on the brand. For some, the water seeps more slowly than for others. Therefore, we recommend that you try a different brand if the first one you buy does not work well for you. Of the water brushes we tested, our favorite is the Kuretake water brush used for the photos in this article.
:max_bytes(150000):strip_icc():format(webp)/Waterbrush-Cleanwater-56a6e3ca5f9b58b7d0e55013.jpg)
Get lots of water out of a water brush
To keep water on the bristles of a water brush, simply keep pressing the water container. Provided, of course, that you still have water! It sounds obvious, but it's easy to get so carried away by paint that you don't realize you've run out of water.
The water drips from the brush onto your paper (photos 1 and 2). Move the brush while squeezing the reservoir to avoid puddles of water on your paper (photo 3).
If you are adding additional water so that you are already painting on paper, be careful not to press too hard or too long as this can create too much water (image 4). If this happens, use a corner of a clean cloth or a dry brush to absorb the excess water. With practice, you can quickly learn to judge how much water you will get.
To fill the water tank, hold it under an open tap or immerse it in a small container of water (such as a bowl or cup). It's even easy to paint with a small bottle of water when you're painting outdoors, as long as you don't mind splashing around a bit.
:max_bytes(150000):strip_icc():format(webp)/Waterbrush-Watercolorblock-56a6e3ca5f9b58b7d0e55010.jpg)
Using a water brush with watercolors
A water brush is ideal for use with watercolors and eliminates the need for a separate water container. This makes it really useful for painting outdoors or drawing in the field.
The photos above show one of the 12 paint trays (blocks) in the little watercolor set we use when we travel. If we just want a little color, we touch the color with the water brush. The moisture in the bristles "activates" the color of the dry pan and we have some color to use.
When we want a specific color, we drop clean water from the brush into the pan (photo 2). The amount of paint and water that we mix with the brush depends on how dark the paint needs to be (image 3). The more we stir the water against the paint tray, the more paint "dissolves" in the water.
To use the watercolor, simply dip the water brush in and out of the paint as you would a normal brush. If you are used to using a sable brush for watercolor paints, you will find that the synthetic bristles of a water brush do not hold as much paint, so you will dip the brush into the paint more often.
:max_bytes(150000):strip_icc():format(webp)/Waterbrush-Watercolor2-56a6e3ca5f9b58b7d0e5500d.jpg)
Using a Graduated Flat Watercolor Wash from Waterbrush
You will find that a water brush can be used to create a flat wash like a regular watercolor brush (image 2). Just dip the brush in and out of the paint as usual. You will see that the moisture in the water brush makes no difference, as long as you do not squeeze the water container and regularly pick up fresh paint with the brush.
If you want to paint a graduated wash (Photo 3), the uniqueness of a water brush makes a big difference. First you pick up some paint and then you put it down. Then continue painting without adding fresh paint or clean water or rinsing the brush. The water in the water brush is added to the paint as you work, gradually brightening the paint for a gradual washout.
Be careful not to squeeze the water container and that a pool of water does not form on the paint (picture 4).
:max_bytes(150000):strip_icc():format(webp)/Waterbrush-SolublePencils-56a6e3ca3df78cf77290c093.jpg)
Raising the color of water soluble pencils
A water brush can also be used to remove paint directly from water-soluble pencils or crayons. Just place the bristles against the pen, then move it back and forth until you have enough paint on the brush.
It will take a bit of trial and error to find out how much paint you have lifted, but always keep in mind that you can add more water from the brush as you paint.
:max_bytes(150000):strip_icc():format(webp)/Waterbrush-SolublePencil-56a6e3ca5f9b58b7d0e5500a.jpg)
Convert the watercolor pencil to color with a water brush
A water brush is great for turning a watercolor pencil into watercolor paint. Simply run the water brush over the water soluble pen and the water from the bristles will turn it into color. The advantage of using a water brush instead of a regular brush is that you don't have to stop to load the brush with water.
Photo 1 shows a watercolor pencil with a water brush passing it only once. Photo 2 shows that it was done multiple times, so more color is "activated".
:max_bytes(150000):strip_icc():format(webp)/Waterbrush-Wash-56a6e3ca3df78cf77290c090.jpg)
How to clean a water brush
Cleaning a water brush is quick and easy. Best of all, you don't need a separate water tank to do this.
To clean a water brush, first wipe off excess paint with a tissue or cloth (Photo 1). Then squeeze the water container so that a little water enters the bristles (figure 2). Clean the bristles again (image 3). Repeat this several times and your water brush will be clean (picture 4).
Enjoy The Video Tutorial about How to Use a Water Brush!
Source: JetPens
Ok, That is all for now…
If you enjoyed this article please, Share and Like our Facebook Page. Thanks.
See you in the next post, Have a Wonderful Day!
You might also enjoy these articles: